


Day 16: Twisted Pearls - a diy pearl necklace


There are so many fun things you could do with this technique. Imagine changing the ribbon color, the ribbon width, the pearl color, the pearl size, the kind of beads. Endless creating with just this. I added a button closure to this necklace because I thought tying four pieces of ribbon might get a little unruly. I think my daughter will prize this, and if she doesn’t, it might just end up in my closet!
Head over to this page for more lovely necklaces and jewelry tutorials of all sorts!


Materials:
Embroidery thread (DMC 5)
Approx 40 glass pearls (8mm)
2 yards 3/8" ribbon
Needle
Button (optional for closure)
Elastic cord (optional for closure)
Time: 40 minutes

Cut two 36" pieces of ribbon. Cross them about 10 inches in and start your thread in the center of the ribbons. I tuck the tail under the loop at least twice.


Trim your ends and thread your first pearl.

Take one of the long tails of ribbon, thread the embroidery floss through it such that the ribbon rests nicely on top of the pearl, without a big gap. You are not going to use the 10" tails of ribbon, so ignore those and keep them separate from the longer tails.

Put on another pearl.

Now take the OTHER long tail you haven’t used yet, and go through that with the thread and needle such that that ribbon rests nicely on top of the pearl.


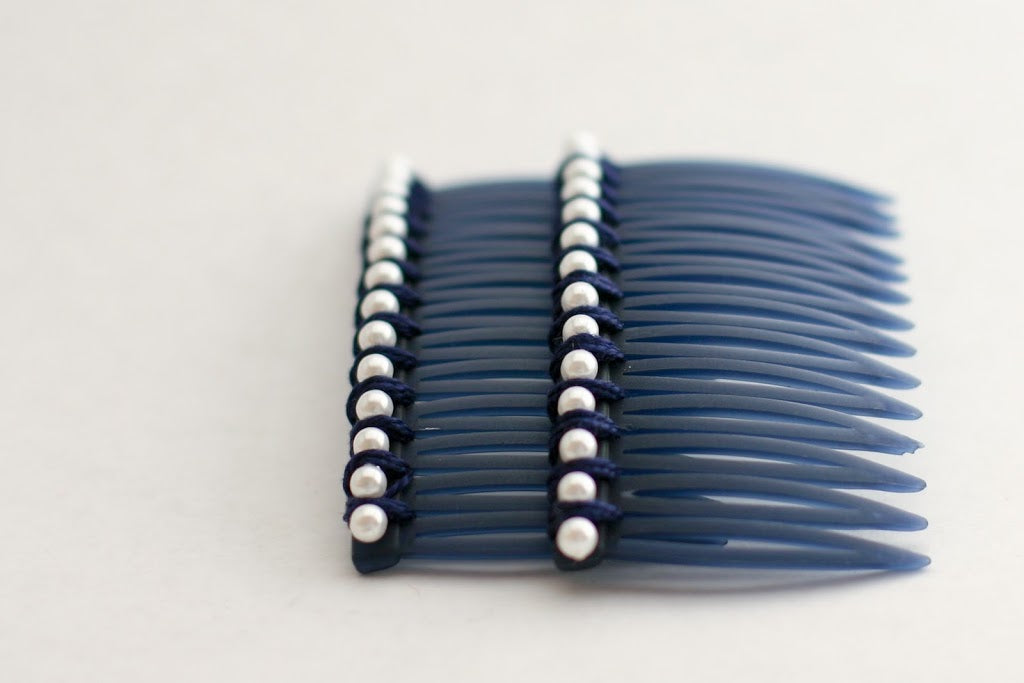
Place another pearl and keep repeating, alternating the long tails of ribbon. Remember, that a pearl goes on every time you bring a piece of ribbon up and over.

It will start to look like this.


Finish your thread off once.

Then bring the thread back through a few of the pearls and finish the thread off as hidden as you can make it inside the strand.


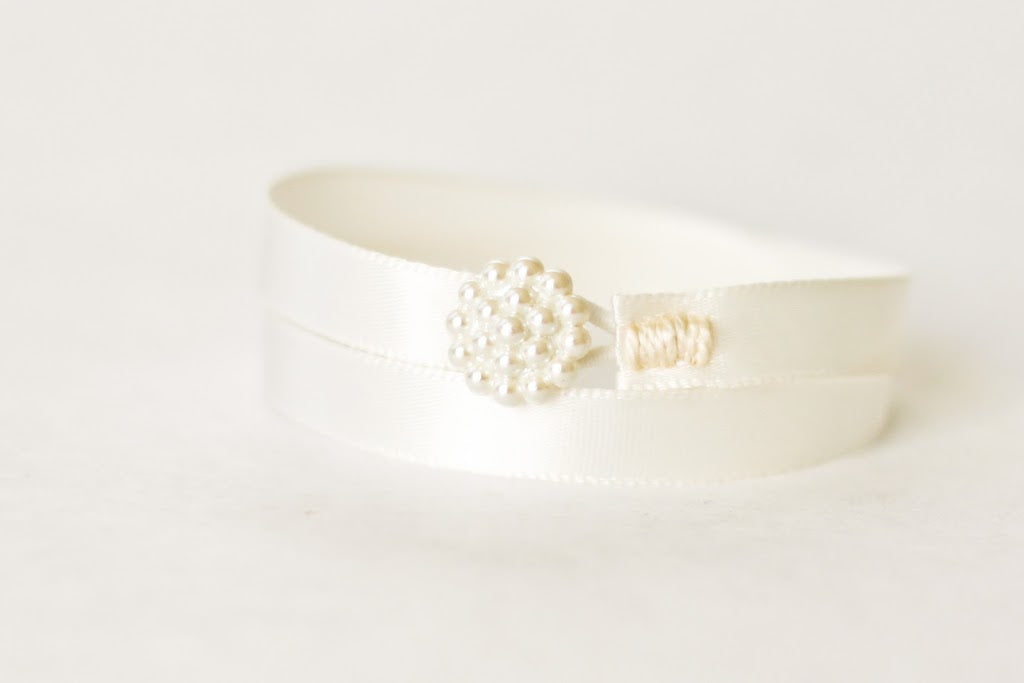
Sew a button on one of the ends.

Sew the elastic cord in a loop on the other end.


I think this closure looks quite nice. If I had had a pearl button, I would have used that.


Don’t you just want to make a ton of these?
My daughter just asked for another ring – never fear, one’s a coming. Maybe not tomorrow but in a couple of days . . .
Leave a comment
This site is protected by reCAPTCHA and the Google Privacy Policy and Terms of Service apply.