


Day 19: Double Dotty Hair Bands - a diy hair accessory

When I was little, I had these bright white, red and pink double button Hello Kitty hairbands. I was a pigtail or double braid kind of girl and you rarely found me without those Hello Kitty binders. At least, that’s that’s the way I remember it. I vividly recall having to do my hair every day and yelling at my mom about it regularly. Curly hair and brushes don’t mix well. Don’t you just cringe at the things you did to your mom that happen to you on a regular basis now?
My Hello Kitty binders inspired me to create these sweet little pink double binders, which will hopefully make A more willing to let me put those pig tails in and bear with the brushing while she’s at it.

I’ve promised multiple people to show how all the jewelry I’ve been making actually looks on a wearer in real life. I will snap some photos of A wearing all these goodies in the new year so you can see. In the mean time, here’s how they’ll look around a pig tail – cute!

Obviously, you can make these button hair bands so many different ways. These are the ones I made earlier in the month. I just couldn’t let the whole advent go by without giving her more of them. They’re just too cute and fun to make. The bigger ones below are made with 7/8" size. The double buttons binders use the 1/2" size.

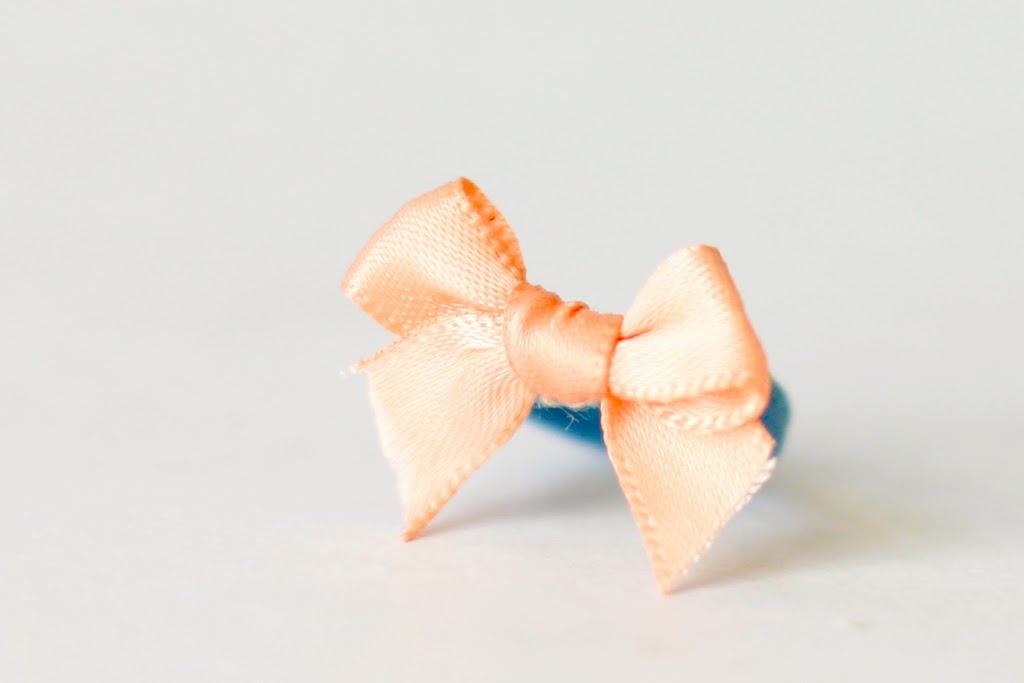
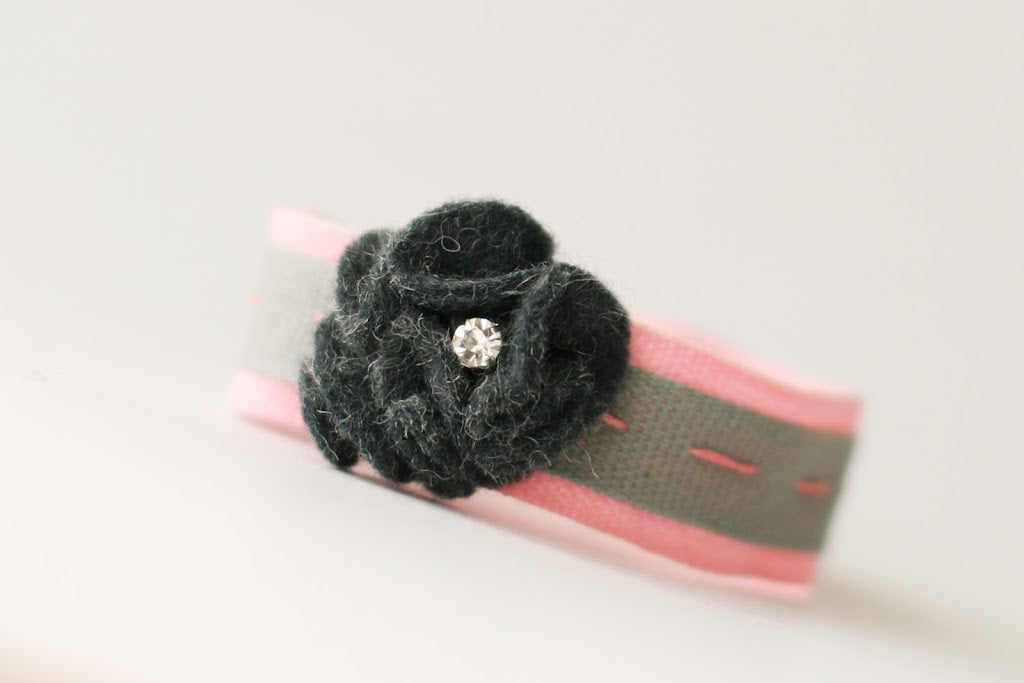
For more great hair accessory and jewelry designs, pop over to this page to review the 24 Days of Glam gallery.


Materials:
Scrap fabric
Elastic hair bands
Needle nose pliers
Button making kit (1/2" size or size 20)
Time: 20 minutes

Make four buttons in desired fabric. The kits make it so easy, but I find everything easier to follow with photos.
Place your scrap of fabric over the rubber base.

Take the domed button top and press it into the fabric.

Fold the fabric into the center and place the back on top of the fabric.

Press down on the button back with the blue tool until you hear/feel a click of the back into place.

Remove the button from the base. Repeat three more times.

Now, take the needle nose pliers and squeeze the ends of the band together to make a point small enough to fit through the hole on the back of the button. Pull the hair band through the back.

Pull the other loop of the hair band over the first one you pulled through.

Tighten.

Putting the button on this side is slightly different. Squeeze the hair band.

Pull through the button back.

For this one, pull the loop of the hair band you just pulled through out a bit.

Flip the buttons over and pull the loop you just pulled through over the top of the button.

Tighten.

Finis!
I think these are really cute. A and I will have a ball whipping up a bunch of these together, mixing and matching fabric scraps and hair bands. We’ll have an entire collection that will make us thrilled to do our hair in the morning, right? right?

Tomorrow, is a fun new bracelet that I think you’re going to love.
Leave a comment
This site is protected by reCAPTCHA and the Google Privacy Policy and Terms of Service apply.