Theses headbands I want to keep for myself. Really, I can’t decide which I like better the beads or the rhinestones. I know Allie won’t want to take them off. Who doesn’t love the idea of diamonds glittering in your hair? The technique for the floss wrapping I used in the wands in
my costume course on Craftsy. But, I just adore the added bling.
Really you can do this technique with most trimmed beads. You can find tons of options for this in the trim section (by the ribbons) of your craft store.

I fell in love with the idea of the rhinestones after seeing
Green Eyed Monster’s Rhinstone bangles – love these. In fact, when I went over to grab the link, I noticed that Ash and Kimmy are doing a fun diy every day of December as well! Great minds – or should I say crazy minds! Go
check it out.


Material:
Plastic headband
DMC Pearl Cotton Embroidery Thread
Approx. 18" of beaded trim with attachments in between each stone or bead (rhinestones, crystal beads, etc)
Craft glue or hot glue gun
Time:
1 hour
Attach beginning of floss to inside of headband with craft glue or hot glue gun.
Wrap floss around headband beginning at one end.
You can wrap a number of times (5-7) quickly and then push strands together snugly, careful not to overlap the strands. This is really easier than it sounds.
When you get to the teeth, decide the maximum number of times you can wrap between each tooth and do that consistently through the toothed portion. More of the headband will show here because you can’t push the embroidery floss as tightly, but that will disappear when you add the trim. Alternatively, you could pick a headband with no teeth – I just wanted to go with the cheap-o version.
Wrap embroidery floss around the entire headband securing the floss on the inside of the headband with glue at the other end.
Let it dry. You are almost ready for the last part – trust me this part goes fast!
Decide where you want the trim to start on your headband and begin attaching the trim to the headband by wrapping it on to the headband. The rhinestones are more expensive, so you may want to start further up on the headband. Decide the number of wraps you like between each bead/stone and keep it consistent.
Here is the sample with crystal beads (this is two wraps between each bead).
Here is the sample with rhinestones (this is four wraps between each stone). The original blue sample above is two wraps between each stone
Continue wrapping the trim until the end of the headband or the equivalent place where you started the trim on the other side so that it is equal.
Cut off excess trim. Secure the floss to the back of the headband with with glue and let dry.
Finis!
Don’t the crystal beads look beautiful on the gray.

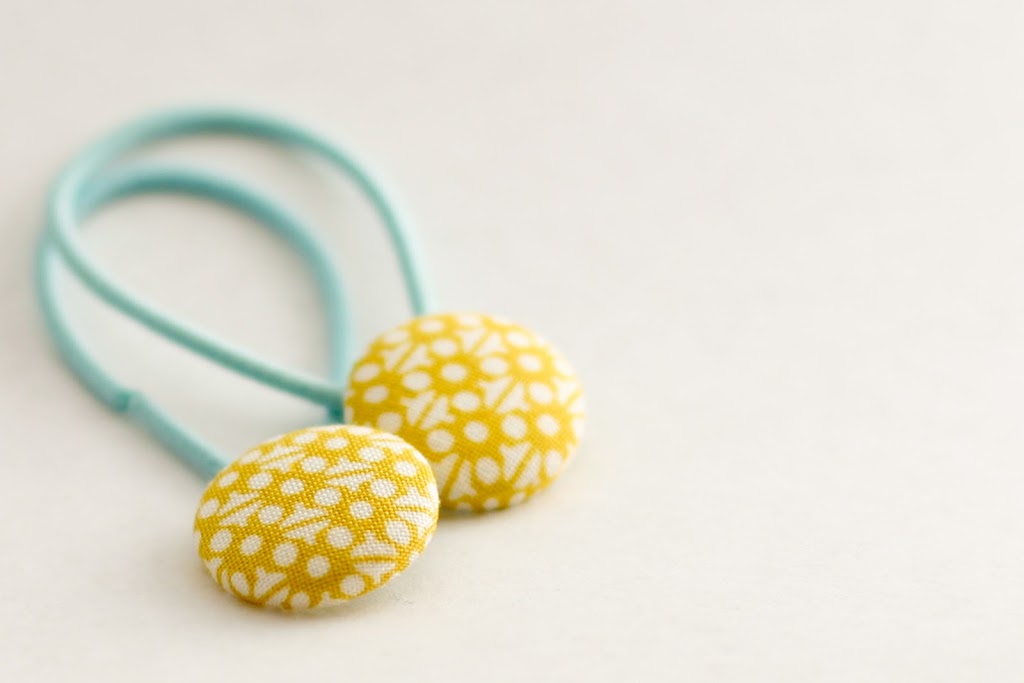
Tomorrow comes super cool hair binders that are the easiest thing in the world and so addictive you won’t want to stop making them! Very easy thing for kiddos to make by themselves – and so much fun.


Leave a comment
This site is protected by reCAPTCHA and the Google Privacy Policy and Terms of Service apply.