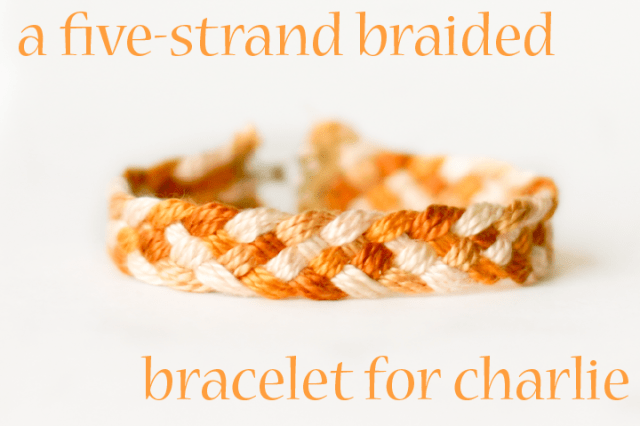
I love braids. There is something magical about how they work. I love how the strands weave in and out of one another–so pretty. This is a five-stranded braid, and it’s easier to work than you might think. Once you have the pattern down, it’s a snap, and yet, doesn’t it look complicated? You could do this bracelet in all sorts of fun color combinations, or all in one color and it would be fabulous either way.
Charlie was wanting a new bracelet and I thought this would be fun for him. But, if you use some nice jewelry fixings, it would take it up a notch and work for you or me. These bracelets would make great easy gifts for friends, as well. Don’t be scared off by the braiding part. Give it a whirl!
For more great jewelry and gift ideas, check
here or
here or click on the buttons below:
Here is the diy for the bracelet:
Materials:
Five colors of DMC 5 Pearl Cotton Embroidery Thread
Hook and eye
Needle and thread
Sewing machine
Alternative: jewelry fixings to clasp strands, jump ring, clasp
Cut four strands of each color approximately 24" long.
Tie the five colors together in a knot with a few inches remaining above the knot and tape it down to a surface. I chose to alternate in color value.
I’ve worked the diy for the braid two different ways, depending on how your brain works. I think it helps to look at both ways. Don’t let the numbers scare you. It is quite easy once you get it down. If the numbers seem overwhelming, skip to the other set of directions!
For the mathematical, pattern-following sort of brain:
Here is how the colors start, the colors keep their assigned number throughout the braid: 1: tan, 2: cream, 3:brown 4: peach, 5:orange
In the first step, strand 1 moves to the right over strand 2 and strand 3 moves over strand 4. You end up with the order below, 2 1 4 3 5. Note that 5 stayed where it was.
Next, move strand 4 over 1 and strand 5 over 3 to the left. Strand 2 stays where it is.
Then, go back to the left side. Strand 1 goes to the right over 5 and strand 2 goes to the right over 4.
Now, back again from the right, 5 goes over 2 and 3 goes over 1. And, so on.
Here is the numerical pattern:
1 2 3 4 5
2 1 4 3 5
2 4 1 5 3
4 2 5 1 3
4 5 2 3 1
5 4 3 2 1
5 3 4 1 2
3 5 1 4 2
. . .
Do you see how each number moves across the pattern diagonally and then hangs out at the edge for two turns and moves back the other direction? Look at one number, the 1, for example, you can see how it is moving to the right with each step and then stays to the right for 1 step and then moves back again. Each strand goes through this process. You could use tape to label each strand and follow this pattern if that helps you.
Or, if you are more visual – try this. My mantra while I do this is two to the left, two to the right, two to the left, two to the right. See the strand farthest-most to the right, and the strand in the middle? I’ve put arrows on them. These two go to the left, over the adjacent strand. The strand farthest to the left, stays where it is.
Then, you do the same on the opposite side. The strand to the farthest most left and the middle strand each move over one strand to the right. The farthest right strand stays where it is.
You repeat that over and over. The two with the arrows move to the left.
Then, move the two with the arrows to the right.
And, so on.
Continue with the braid until you get to an inch or so past desired length.
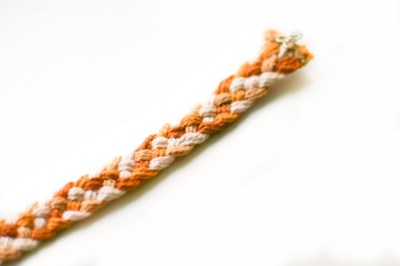
You could finish this bracelet with jewelry fixings and make a “fancier” bracelet. There are wide fixings that collect all the strands–you attach this to a jump ring and a clasp of your choice, and your done. This one was for my son, so I just wanted to use something easy that I had on hand and nothing too girly. I taped the end so that it wouldn’t come apart while I was sewing the ends.
With a small zig-zag stitch on the sewing machine, go back and forth over the braid.
Do this to both ends at desired length.
Clip the extra length with a scissors. Sew on a hook and eye on each end of the bracelet.
Voila, you’re done!
Now, you can go around looking super cool.
Throw one in each of your kiddos stockings for Christmas or do one as a little Chanukah present. Have fun!


Leave a comment
This site is protected by reCAPTCHA and the Google Privacy Policy and Terms of Service apply.